If you have a point and shoot camera – a camera that doesn’t allow you to manually change it’s setting (aperture, shutter speed, iso, etc), then you are truly missing out on taking a great photo. The same goes without saying (although I am actually saying it) if you are only shooting in program mode on your camera because in almost every case you are not using one or more extremely powerful functions, depth-of-field being one of them. Depth-of-field is defined by the distance between the nearest and farthest objects in a scene that appear acceptably sharp in an image. It is also known as focus range or effective focus range. It gives the photographer the ability to make one object the focal point of the image. It is a way to control what your viewers will see or not see and it’s gold to portrait photographers.
You can manipulate your depth-of-field by changing your lens’s aperture setting. Your aperture settings will range depending on what lens you have on your camera. My favorite lens, the Canon EF 100mm f/2.8L Macro IS USM Lens, ranges from 2.8-32. You can think of the range like this, the smaller the number the larger the opening in the shutter when you take your photo, the larger the number the smaller the opening. This concept confused me when I was learning because the smaller number was creating a larger opening in the shutter and the larger number was creating a smaller opening in the shutter. Fun, huh? Now, how does adjusting the aperture affect your image? In a couple of ways. At 2.8 my shutter is wide open, which will let more light in and produce more bokeh-the aesthetic quality of the blur produced in the out-of-focus parts of an image produced by a lens, it’s often referred to as opening up the lens. I usually shoot at 2.8 (or lower if I have a lens that will allow this) because it will guide the viewer’s eyes directly to my subject, which is whatever I choose to focus on with my lens. In other words, everything in line with my subject will be focused and everything else in the image will be out of focus. Consequently, if you open up your shutter by using a large aperture, you’ll need to make other adjustments to your camera so you don’t end up over exposed. The easiest way to do this is to shorten your shutter speed. Play with it a bit, and see how they can both affect your overall exposure. In the picture below I only wanted to focus on the baby’s eyelashes. As you can see, everything else is somewhat blurred. Side note: this is not quite a macro shot, but it is difficult enough. Every time I attempt a shot like this I can’t breathe. The slightest movement and those tiny lashes will not be sharp, but oh how worth the effort it is!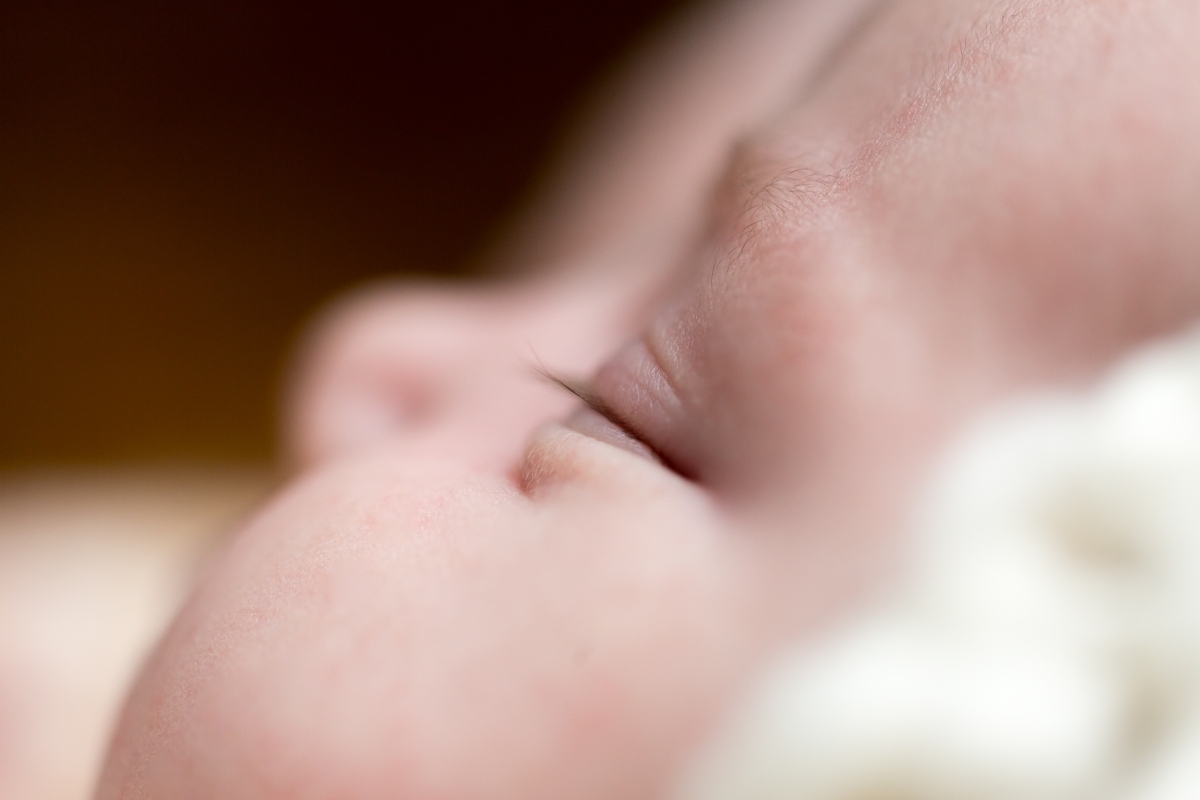 Often in portraits, you will want your subject in focus and the surroundings blurred. Occasionally you will not. Ask yourself this, are the surroundings important to my portrait? If the viewer can see all of the surroundings in clarity, will it distract from my subject? Sometimes this can be good, sometimes it can be bad. For the next image, I wanted to show my subject in his tattoo studio surrounded by his artwork, so I set the aperture to 32 on my lens. It would have been a completely different image, and not so great in my opinion if he was the only thing in focus. This portrait was about him but on a deeper level. This wasn’t a portrait of what he looks like, but really what he’s about.
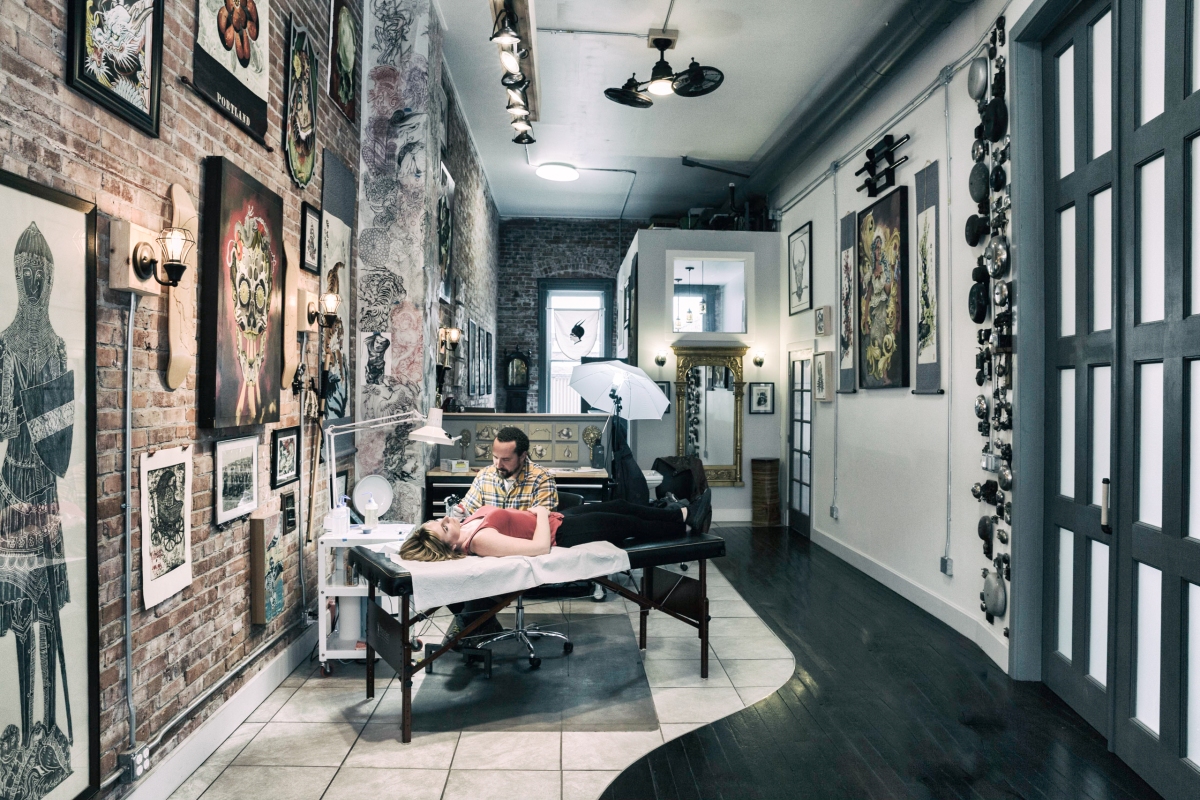
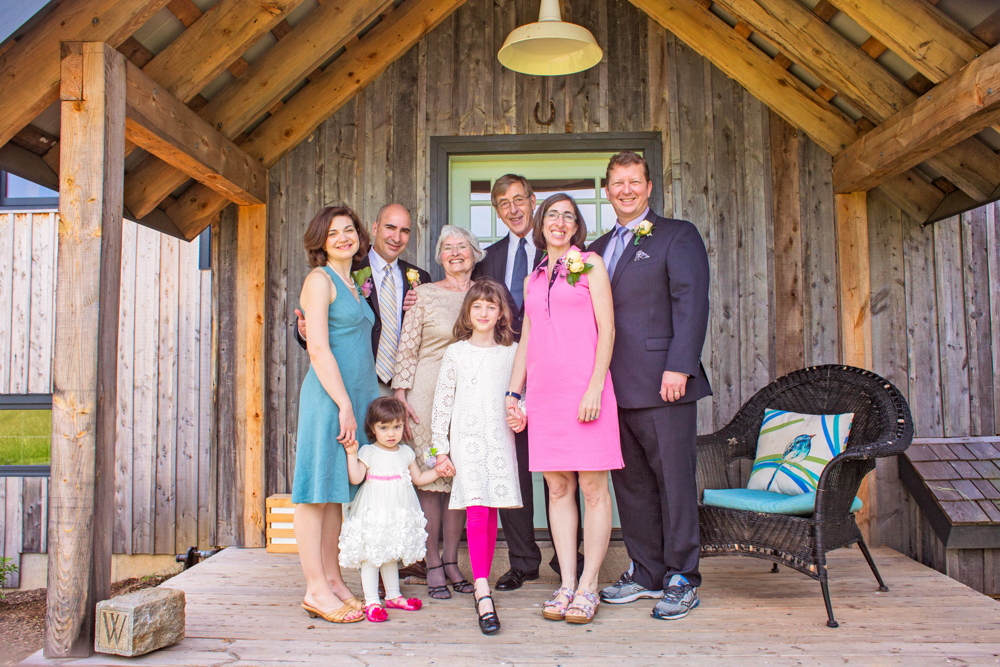
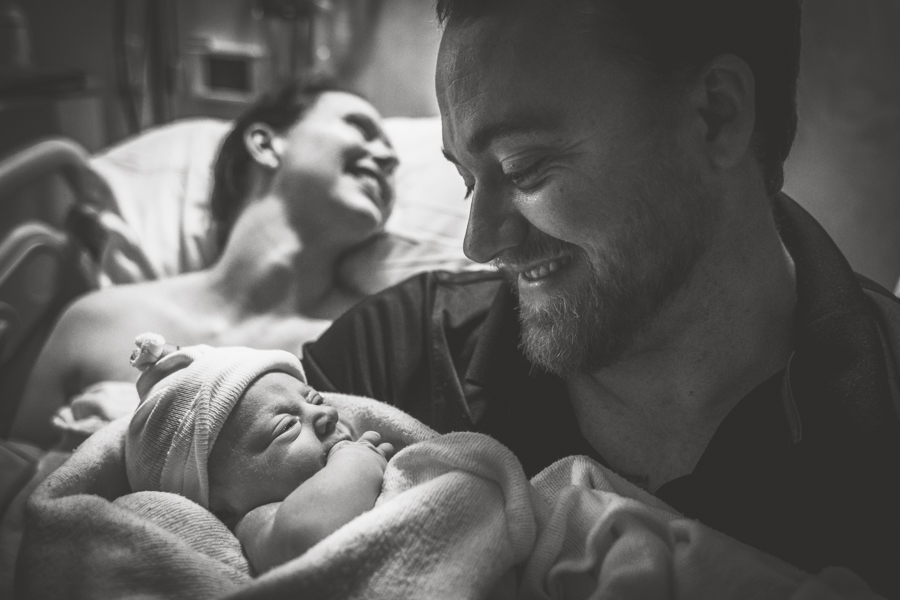
In the next example, I set the aperture to 2.8 because I wanted the viewer to first look at my two subjects in the foreground, the newborn and the father. Because the newborn and the father were only 3 feet in front of the mom, I knew she would not be in focus, but she would have softer focus. She would create a nice layering effect moving your eyes from the dad to the newborn child, and then to the mom. If she was as focused as the two in the foreground, the image wouldn’t work. She would cause a distraction and the image wouldn’t work as well.
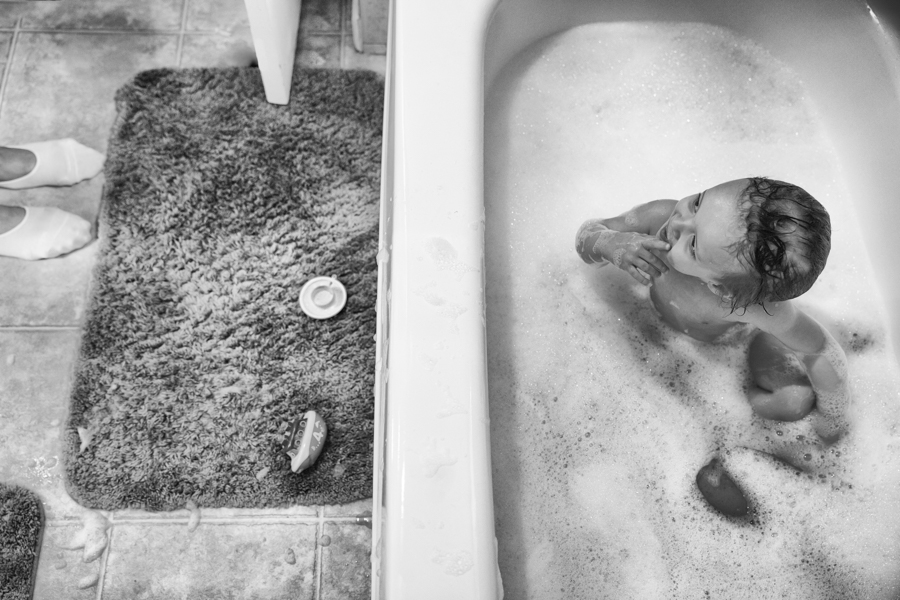
In the next example, I wanted everything in focus. The baby, the baby’s expression, the toy that he threw over the bath, the mom standing slightly off camera, even the rug and the bubbles held value to me. When I edited this image I actually pulled out more details through post-processing techniques, to accentuate all of this.
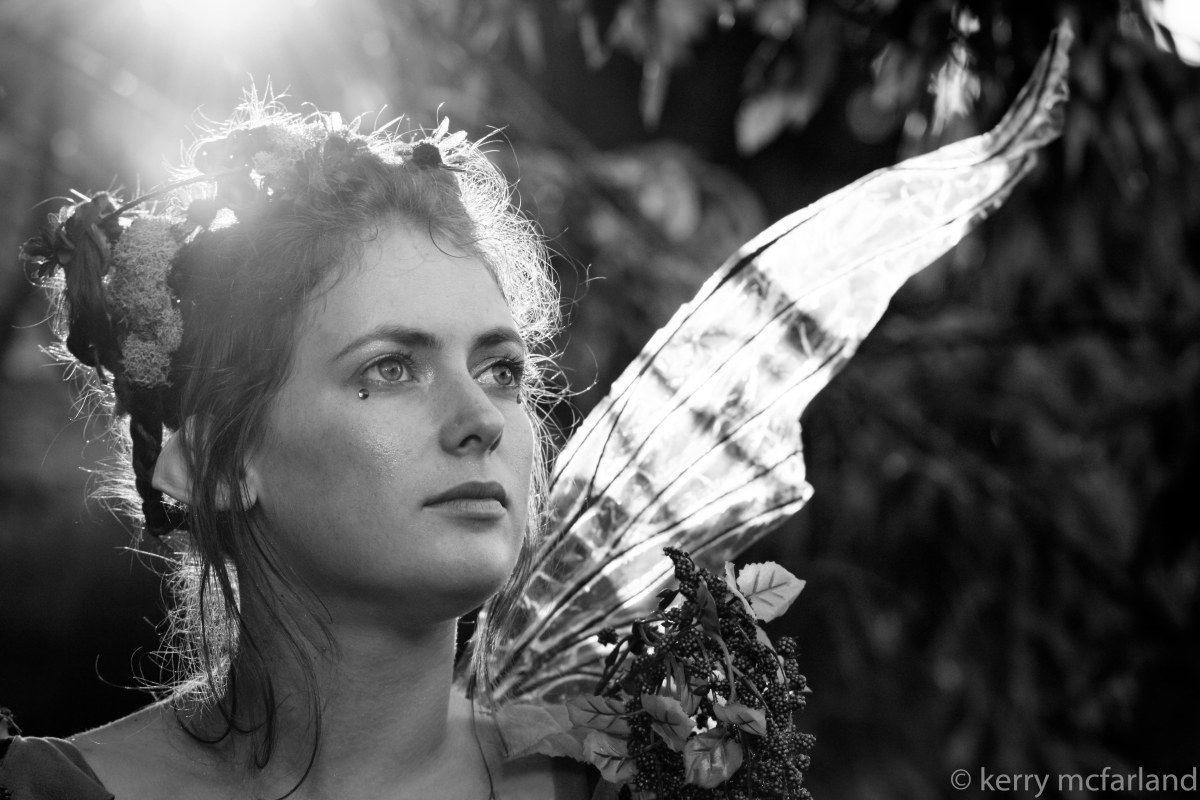
Here is an example of an image where my lens’s aperture was set 4.0. This is still pretty open, and it created a beautiful bokeh in the background, but her wings are adequately sharp, which was important for my shot.